[JOOM Certified Store]
A Japan-based retailer offering high-quality authentic products.
*** Important Notices (Please Read) ***
We carry a wide variety of products, but please note that many are based on Japanese domestic standards.
- [Home Appliances]: Voltage 100V / Type A plug. (A voltage converter or plug adapter may be required).
- [Games & Media]: May be subject to region locking. Manuals and user interfaces are primarily in Japanese.
* Please check for compatibility with your equipment before purchasing.
* See the bottom of the page for detailed product specifications.
[Shop Information]
- Please "Follow" our store and leave a 5-star review!
―・―・―・―・―・―・―・―・―・―・―・―・―
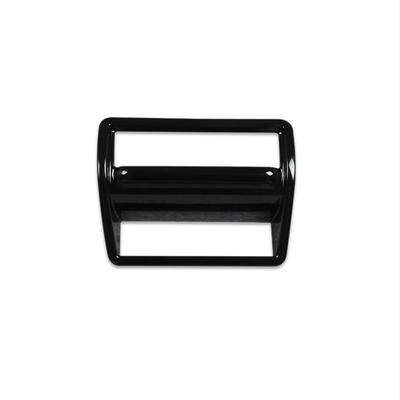
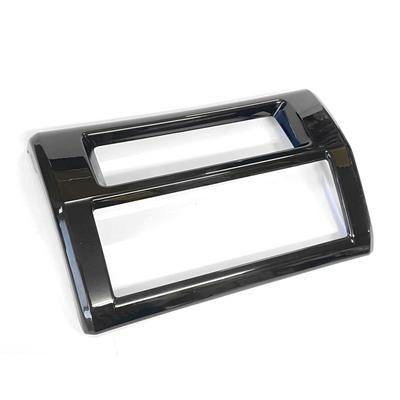
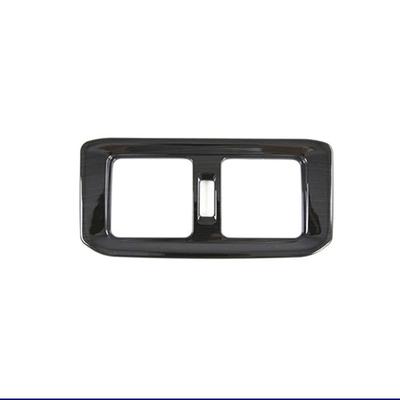
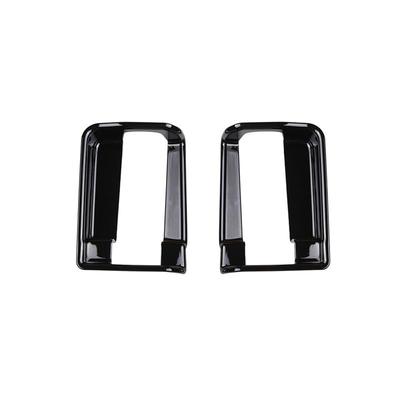
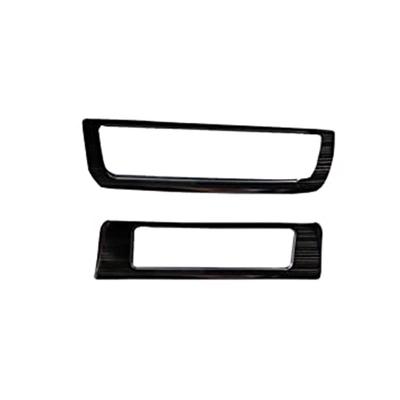
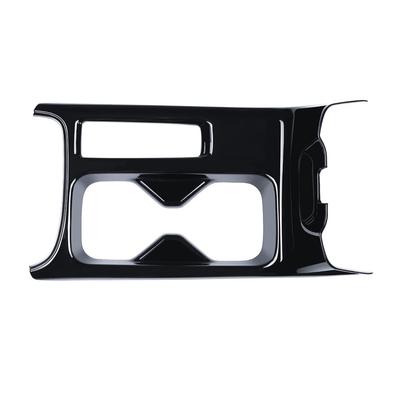
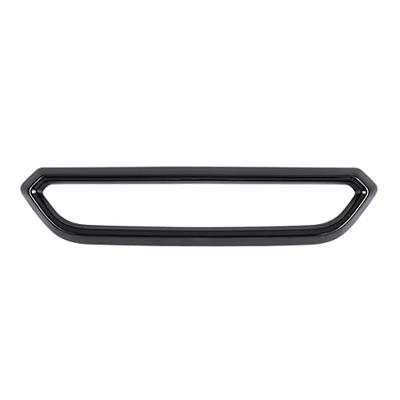
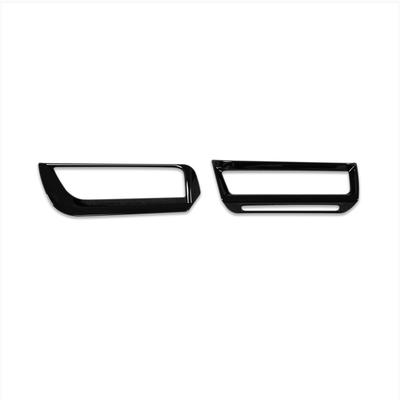
Compatible vehicles: Toyota Land Cruiser 250 LC250 (LAND CRUISER 250) TRJ250W GDJ250W April 2024 onwards, Compatible grades: ZX/VX/GX
Product material: ABS resin, which is highly resistant to impact, has excellent surface hardness, and is heat resistant.
Easy Installation: Installation is simple; just attach the product using the included 3M double-sided tape on the back. If the tape is insufficient or the adhesive strength is not enough, please reinforce it. *In low temperatures, the adhesive strength of the tape may decrease, so please heat the tape slightly with a hairdryer or lighter before attaching it.
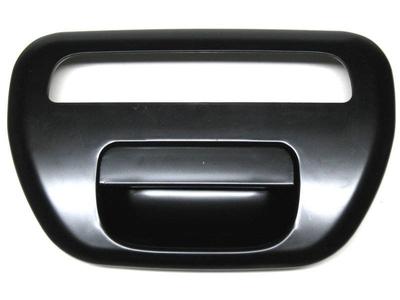
Vehicle Confirmation: The shape may vary depending on the year, model, etc., so please be sure to check that the shape of the product matches that of your vehicle.
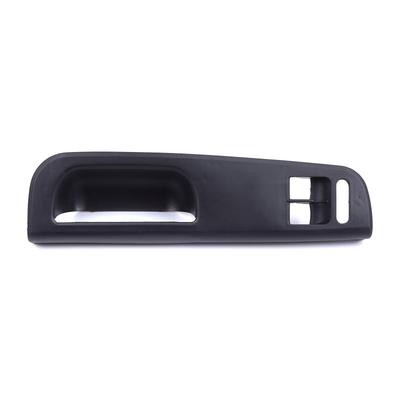
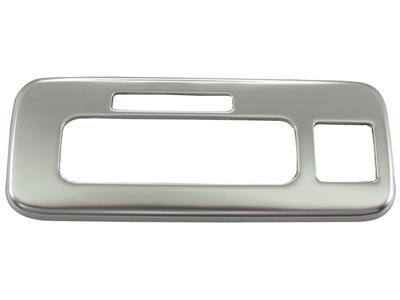
Console Switch Panel, Land Cruiser 250 Custom Parts, Headlamp Adjustment Button Garnish for LAND CRUISER 250 Accessories
【*Vehicle type confirmation*】
*Please check your vehicle before purchasing.
If any modifications or alterations are required, please be sure to contact a professional installer who is qualified to do so.
The shape may vary depending on the year and model of your vehicle, so please be sure to check that the shape of the product matches that of your vehicle.
Furthermore, we do not accept returns, exchanges, or complaints regarding incompatibility, such as the product not fitting due to a difference in shape.
【attachment】
Before attaching, always perform a test fit to confirm the correct placement.
Before installation, remove any dirt, dust, or oil from the mounting area on the vehicle body, then firmly attach it using double-sided tape.
Due to the design, there is a possibility that the edges may lift slightly. Therefore, please use strong adhesive tape to reinforce any areas that are wobbly or have gaps during the test fitting.
【※Note※】
1. Due to vibrations during driving, the adhesive part may lift, so please refrain from driving for about one day after installation.
2. In cold winter weather, the adhesive strength of the tape may decrease, so please heat the tape slightly with a hairdryer or lighter before applying it.